
Preventing Chalky Finish in Miniature Paints
Table of Contents
- What Causes Chalky Finish on Miniatures
- Step 1: Prime Your Miniatures Correctly
- Step 2: How to Thin Acrylic Paint for Miniatures
- Step 3: Brush Application and Smooth Coverage
- Why Is My Miniature Paint Grainy
- How to Paint Smooth White on Miniatures
- How to Fix Chalky Paint on Miniatures
- Common Mistakes to Avoid
- Frequently Asked Questions
Last Updated: October 13, 2026
What Causes Chalky Finish on Miniatures
A chalky finish on miniatures happens when paint sits on the surface instead of bonding properly. The paint looks dull, powdery, and lacks the smooth, rich color you want. This is one of the most common frustrations in miniature painting, and the good news is that preventing chalky finish in miniature paints is entirely within your control once you understand what's happening.
The root cause is usually one of three things: poor surface preparation, paint that's too thick, or environmental conditions during priming or painting. We'll walk you through exactly how to fix each one.
Chalky Paint vs. Grainy Paint vs. Varnish Frosting
These three problems look similar but need different fixes. Knowing which one you have saves you time and frustration.
Chalky paint feels powdery and washes off if you rub it. The paint didn't bond to the primer or previous layer.

Grainy paint has a rough texture with visible pigment particles that won't smooth out.
Varnish frosting looks milky and white instead of clear. This happens when you apply varnish in cold, humid conditions.
The fix for each is different. Chalky paint needs better surface prep and thinner coats.
Step 1: Prime Your Miniatures Correctly
Primer is your foundation. A proper primer creates a smooth surface that paint sticks to. Without it, even the best paint will look chalky and lifeless.
The primer needs to be even, thin, and fully cured before you paint. Most miniature painters skip this step or rush through it. That's where the chalky finish starts.

Choosing the Right Primer Type
You have two main options: spray primer and brush-on primer.
Spray primer dries faster and creates a more even coat. It's ideal for batch priming. The downside is that it requires the right conditions and technique.
Brush-on primer gives you more control and works in any weather. Green Stuff World's water-based primer is designed for brush or airbrush application and creates an even matt surface that acrylic paint bonds to reliably.
For preventing chalky finish in miniature paints, brush-on primer is often the safer choice if you're new to the hobby. You can see exactly what you're doing and adjust as you go.
Spray Distance and Environmental Conditions
If you're using spray primer, distance matters more than you'd think. Hold the can 6-8 inches from the miniature. Too close and the primer pools and runs.
Spray in short bursts. One second on, one second off. Let each coat dry between passes.
Environmental conditions affect primer more than paint. Spray primer needs 50-85% humidity and 65-75°F to work properly.
If you're spraying in winter or a dry climate, you might need to adjust your technique. Use slightly longer bursts and hold the can a bit closer.
Step 2: How to Thin Acrylic Paint for Miniatures
Paint thickness is the biggest factor in preventing chalky finish in miniature paints. Thick paint sits on top of the primer instead of bonding to it. Thin paint flows smoothly and creates a strong bond.
The goal is paint the consistency of milk. Not water, not cream. Milk.
Water vs. Medium vs. Flow Aid
Water is free and works, but it's not ideal. Water breaks the paint binder slightly, which weakens the paint over time.
Paint medium (also called flow aid or extender) keeps the binder intact while thinning the paint. The Golden Fluid Acrylics technical guide explains that additives preserve paint strength while improving flow.
Flow aid reduces surface tension and helps paint flow into crevices. It's useful for detail work and smooth coverage.
For most miniature painting, use a 1:1 ratio of paint to water or medium. Start there and adjust based on how it flows. If it's too thin, add more paint.
Testing Paint Consistency
The easiest test is the brush test. Dip your brush in the thinned paint. It should flow off the brush in a smooth line. If it drips or runs, it's too thin.
Another test is the palette test. Put a drop of thinned paint on your wet palette. It should spread easily without leaving ridges. If it spreads too thin and becomes transparent, you've over-thinned it.

The best approach is to keep a wet palette next to you while painting. This keeps paint workable longer and lets you test consistency as you go.
Step 3: Brush Application and Smooth Coverage
How you apply paint matters as much as the paint itself. The right technique prevents chalky texture and creates smooth, even coverage.
Multiple Thin Coats vs. Single Heavy Coat
This is the golden rule: three thin coats beat one thick coat every time.
A thin coat dries fast and bonds properly. A thick coat takes longer to dry, stays wet too long, and creates a chalky, uneven finish.
Apply each coat in one direction. Let it dry completely before the next coat. This usually takes 15-30 minutes depending on humidity. Don't rush it.
Most miniature painters use two to three coats of color over primer. The first coat covers the primer. The second coat adds depth and evening.
Why Is My Miniature Paint Grainy
Grainy texture is different from chalky texture, but the fix overlaps. Grainy paint has visible pigment particles that won't smooth out no matter how many coats you apply.
Paint and Primer Quality
Low-quality paint has larger pigment particles that don't suspend evenly in the binder. When you apply it, the particles settle unevenly and create a grainy surface.
Green Stuff World Matt Surface Primer – 60ml →
Cheap primers also contribute. A rough primer surface gives paint nothing smooth to bond to. Even good paint will look grainy on a rough primer.
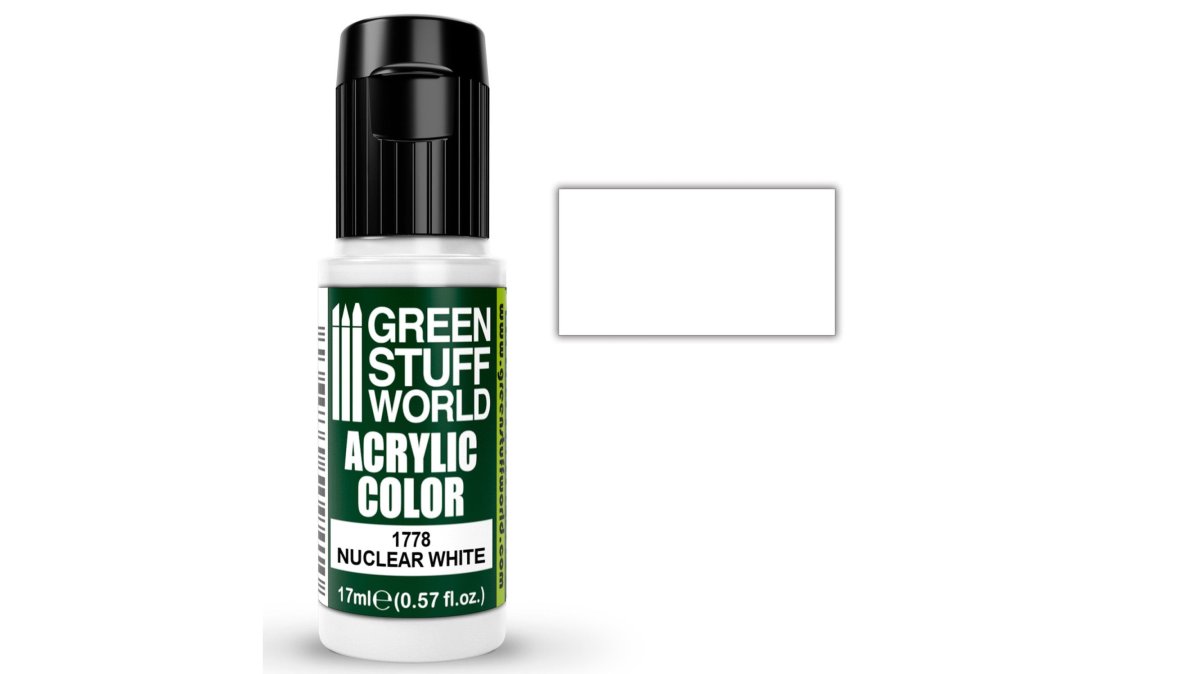
The fix is to upgrade your paint and primer. Professional-grade acrylic paint like Green Stuff World's acrylic color paint uses finer pigments and better binders. The paint flows smoothly and creates an even finish.
Pigment Cohesion and Paint Flow
Pigment cohesion is how well the pigment particles stay suspended in the paint. Paint with good cohesion looks smooth. Paint with poor cohesion separates, and you get grainy texture.
Paint flow is how easily the paint spreads across the surface. Paint with good flow self-levels and fills in brush marks. Paint with poor flow leaves streaks and texture.
Both of these improve when you use higher-quality paint and thin it properly. Water-based acrylics designed for miniatures have better cohesion than craft paints. They also have additives that improve flow without requiring extra thinning.
How to Paint Smooth White on Miniatures
White is notoriously difficult. White pigment is large and dense. It doesn't flow like other colors, and it has a tendency to look chalky and flat.
High-Pigment Paint Handling
White paint needs special care because of its pigment size. Standard white paint looks chalky and flat. You need white paint formulated for miniatures, with finer pigments and better flow.
Apply white in thin coats, even thinner than you'd use for other colors. Three to four coats of thin white looks better than two coats of thick white.
Stir white paint before each use. The pigment settles to the bottom and needs to be mixed back in.
Drying Time and Humidity Control
White paint is sensitive to humidity. High humidity slows drying and can cause the paint to stay wet too long, creating a chalky surface. Low humidity causes the paint to dry too fast and look uneven.
Ideal conditions for white paint are 40-60% humidity and 65-75°F. If you're painting in a dry climate, you might need to slow drying by using more medium or flow aid.
Let white paint dry fully between coats. Don't try to speed it up with heat or fans. Slow, even drying creates a smooth finish. Fast drying creates chalky texture.
How to Fix Chalky Paint on Miniatures
If you've already painted a miniature and it looks chalky, you have options. You don't have to strip it and start over.
Recovery Process for Already-Chalky Miniatures
The first step is to identify what caused the chalkiness. Was it thick paint? Poor primer? High humidity? Knowing the cause helps you avoid it next time.
If the chalky paint is thin, you can often paint over it. Apply a new coat of properly thinned paint.
If the chalky paint is thick, you need to sand it off. Use fine-grit sandpaper (220-grit or higher) and sand gently until the surface is smooth.
For small areas, you can use a wet brush to soften the chalky paint and blend it.
Protective Finishes and Varnish
Once your miniature is painted smoothly, protect it with a varnish. A matte or satin varnish seals the paint and prevents chipping. It also gives you a consistent finish and protects against dust and handling.
Apply varnish in thin coats, just like paint. Use a matte varnish to avoid shine, or a gloss varnish if you want a shiny finish. Satin is a good middle ground.
Varnish needs the same conditions as paint: 50-85% humidity and 65-75°F. Apply it in a well-ventilated area and let it dry completely before handling.
| Problem | Cause | Fix |
|---|---|---|
| Chalky paint | Thick paint, poor primer, high humidity | Sand, re-prime, apply thin coats |
| Grainy texture | Low-quality paint, rough primer | Upgrade paint, use fine primer |
| Dull finish | Insufficient coats, poor paint flow | Apply more thin coats, thin paint properly |
| Varnish frosting | Cold, humid conditions during varnishing | Apply varnish in warm, dry conditions |
Common Mistakes to Avoid
Most chalky finishes come from a few repeated mistakes.
Applying thick paint. This is the number one cause. Paint needs to be thin.
Skipping primer. Primer is not optional. It's the foundation.
Priming in the wrong conditions. Spray primer needs specific humidity and temperature.
Using cheap paint. Budget paint has larger pigments and poor flow.
Rushing the drying process. Let each coat dry completely.
Not thinning paint. Thinning is not optional. It's how you get smooth coverage and prevent chalky texture.
Painting in high humidity. Humidity causes paint to stay wet too long and creates chalky texture.
Preventing chalky finish in miniature paints comes down to three things: proper primer, thin paint, and the right conditions.
Frequently Asked Questions
Why does my miniature paint look chalky?
Chalky finish typically results from improper primer application, paint that is too thick, or low-quality pigment distribution. If your base coat lacks adhesion or the primer surface is uneven, acrylic paint won't flow smoothly and will appear dull and powdery. Using a quality water-based primer like Green Stuff World Matt Surface Primer, thinning paint to milk-like consistency, and applying multiple thin coats instead of one heavy coat prevents this problem. Poor humidity control during drying and low-quality paint with weak pigment cohesion also contribute.
How do you fix a chalky finish on a painted miniature?
If your miniature is already chalky, strip the paint carefully with appropriate paint remover or gently sand the surface with fine-grit sandpaper. Repriming with a quality primer creates a fresh foundation. Repaint using thin coats with proper paint consistency, and consider applying a matte or gloss varnish as a protective clear coat once dry. This seals the surface and can restore some visual depth. For minor chalky areas, a thin gloss sealer layer alone sometimes improves appearance, though repainting is more reliable.
How can you thin miniature paint without making it grainy?
Use distilled water or dedicated paint medium rather than tap water, which contains minerals that can cause graininess. Add small amounts gradually, aim for milk-like consistency, not watery. A wet palette with hydro-paper keeps paint workable longer and reduces the need for excessive thinning. Flow aid products designed for acrylic paint improve pigment distribution without over-thinning. Test consistency on a spare surface before applying to your miniature. Quality paint with good pigment suspension (like Green Stuff World Acrylic Color Paint) thins more smoothly than budget alternatives.
Does varnish help protect a chalky miniature paint finish?
Varnish can improve appearance by adding depth and a protective layer, but it won't fix underlying chalky texture, it seals it in place. Matte varnish maintains the chalky appearance, while gloss varnish adds shine and can make paint look slightly more vibrant. For best results, prevent chalky finish during painting rather than relying on varnish to hide it. However, applying varnish does protect your finished miniature from chipping and wear during handling and storage, making it worthwhile regardless.